BLOG
Blog Guide
Blog History
EXCEL
Functions & Formulas
VBA & Macros
VLOOKUP
Pivot Tables
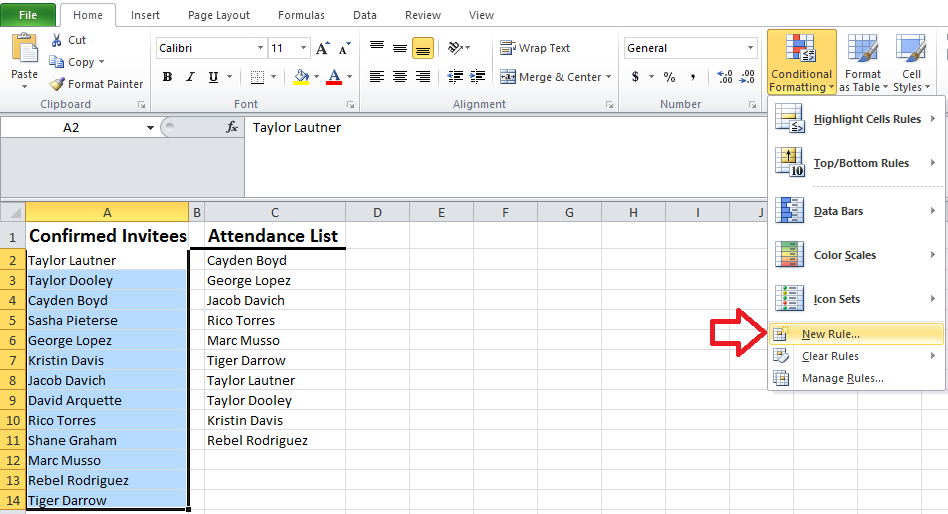
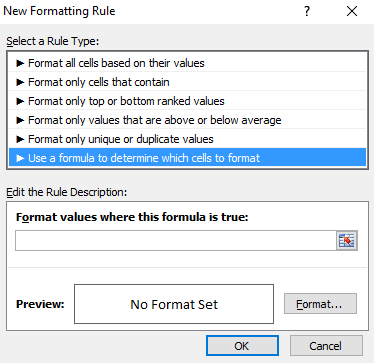
Conditional Formatting
Tricks & Shortcuts
BI
SAP BOBJ/BW
Tableau
SQL
ABOUT
About WBD
About Me
BLOG
Blog Guide
Blog History
EXCEL
Functions & Formulas
VBA & Macros
VLOOKUP
Pivot Tables
Conditional Formatting
Tricks & Shortcuts
BI
SAP BOBJ/BW
Tableau
SQL
ABOUT
About WBD
About Me